Create your first site
From a blank workspace to a live website in about five minutes.
Prefer to watch? Here's the whole thing in under a minute:
1. Create the site
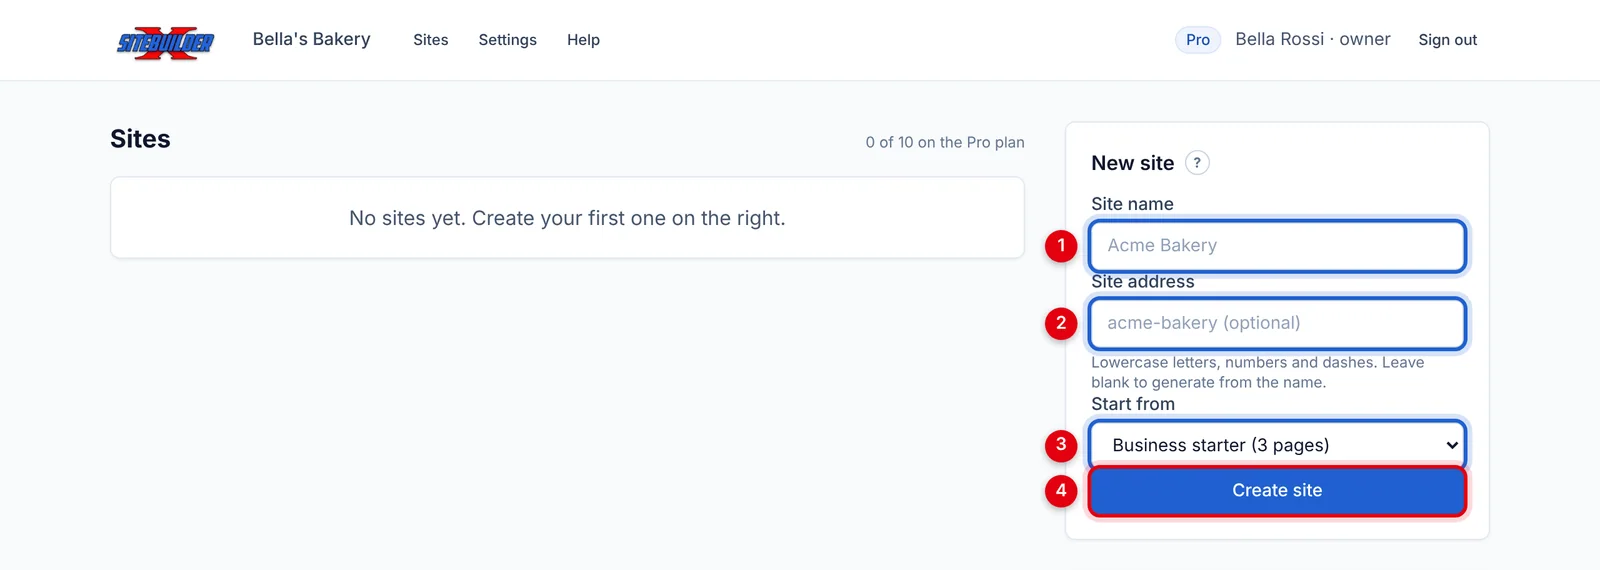
On the Sites page, use the New site card on the right:
- Site name — for example "Bella's Bakery". You can change it later.
- Site address — optional. Lowercase letters, numbers and dashes, like
bellas-bakery. Leave it blank and we'll make one from the name. - Start from — pick a template. Templates with several pages say so, e.g. "(3 pages)".
- Click Create site.
The site's page opens. Click Open editor.
2. Make it yours
Change text: double-click any text and type.
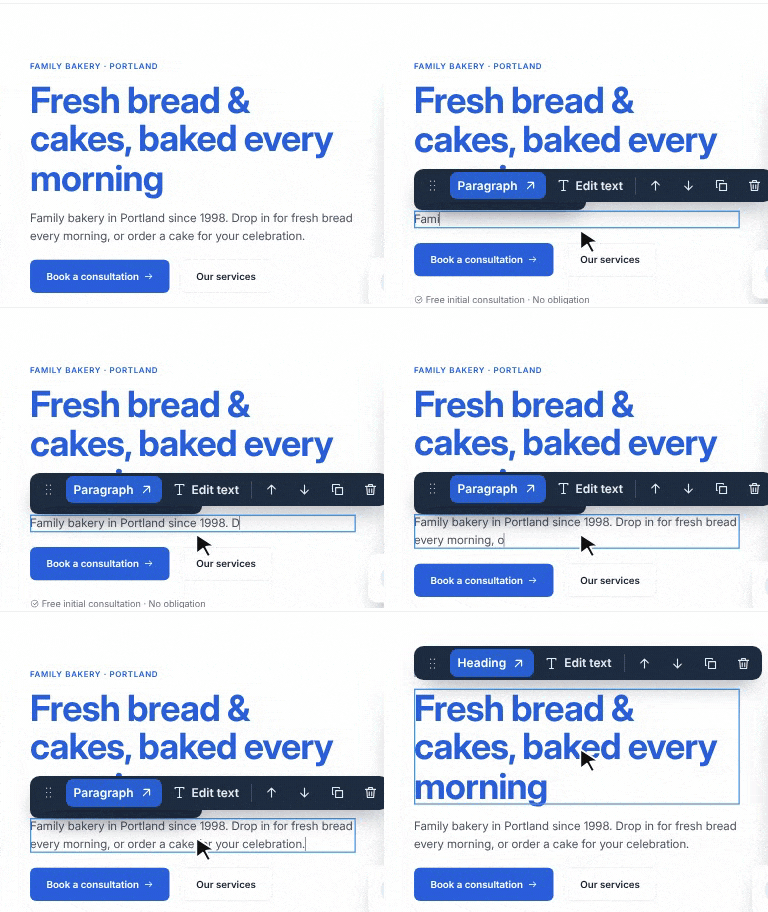
Double-click, then type Change a picture: double-click it and upload your own photo — see Images and media.
Add sections: click or drag them in from Add on the left. See Adding sections.
Other pages: pick them from the page menu at the top left, or add one with + Page.
Your work saves itself every few seconds — watch for All changes saved in the toolbar.
3. Check it on a phone
Click Mobile in the toolbar to see how the page looks on a phone. See Mobile and tablet views.
4. Publish
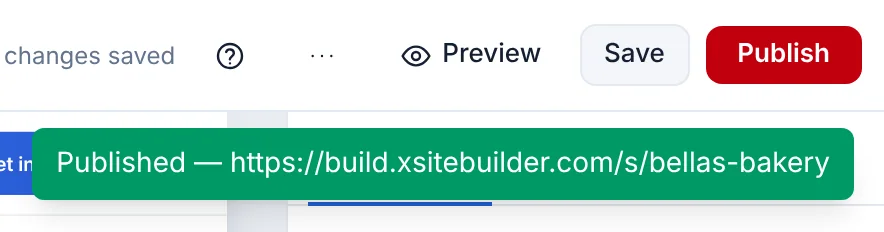
Click Publish. A green message confirms it, with your site's address:
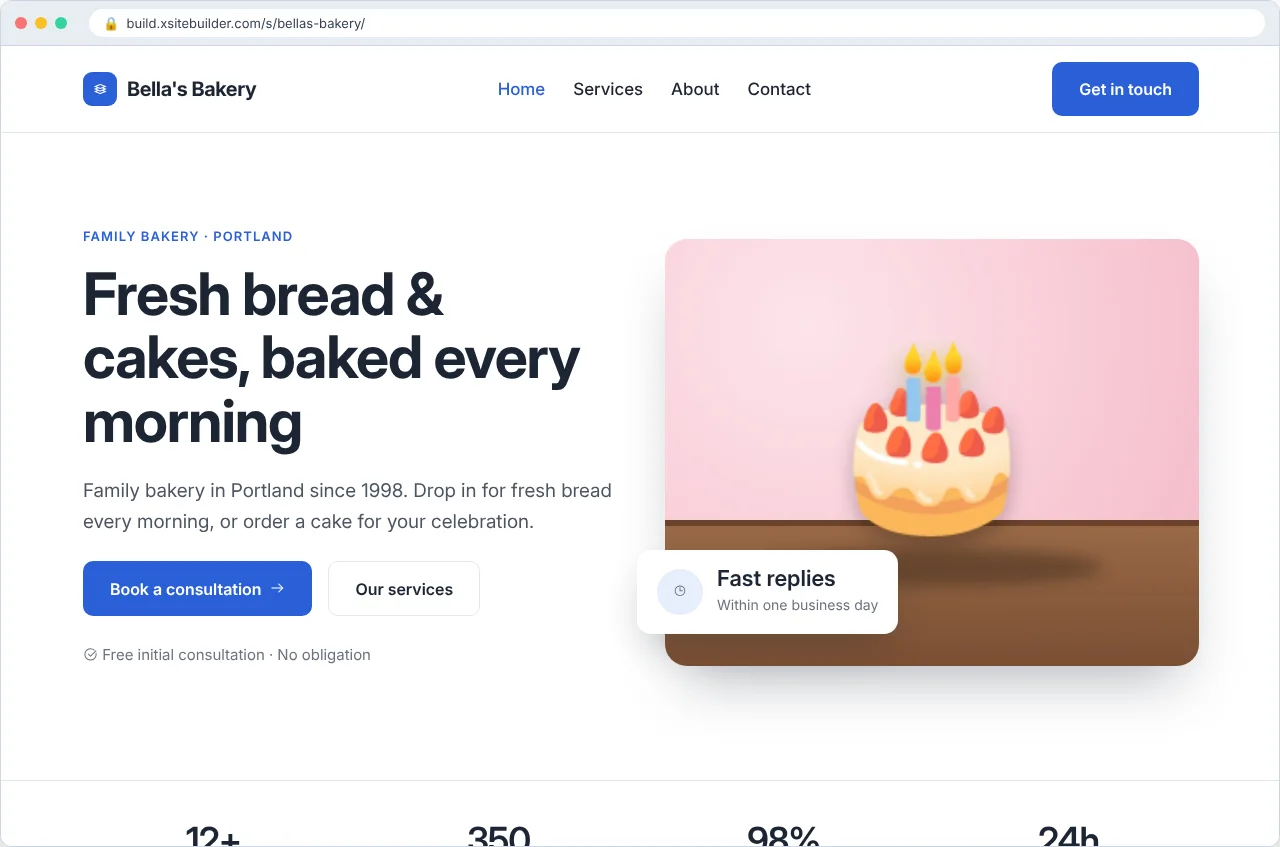
Want your own domain, like www.bellasbakery.com? See Using your own domain.
Didn’t find what you need? Contact support.